
Skip to Content
Votre panier
Votre panier
Votre panier est vide

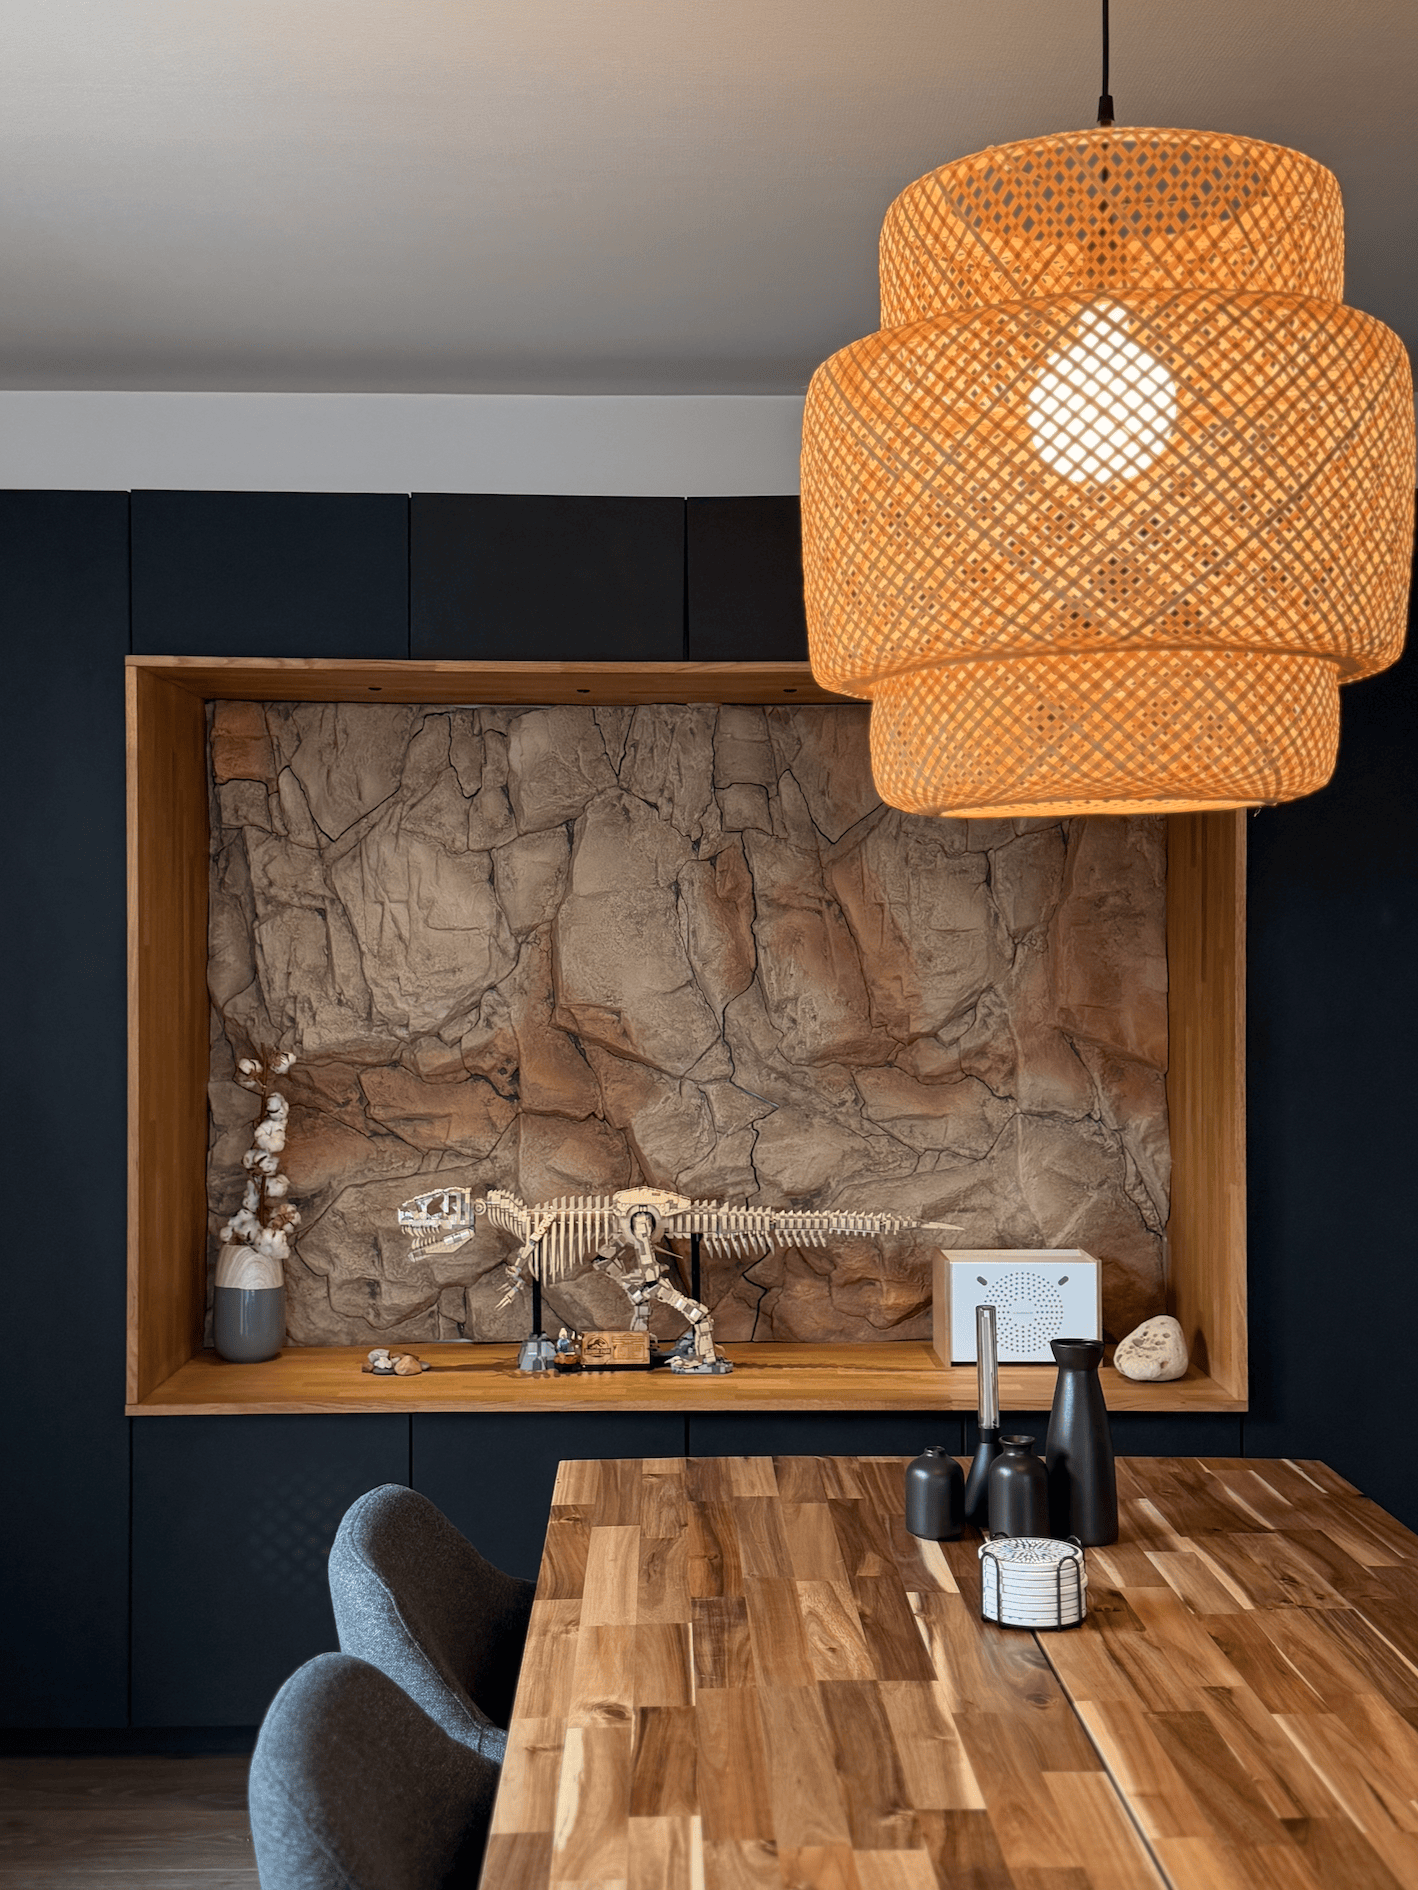
A STONE WALL IN THE DINING ROOM

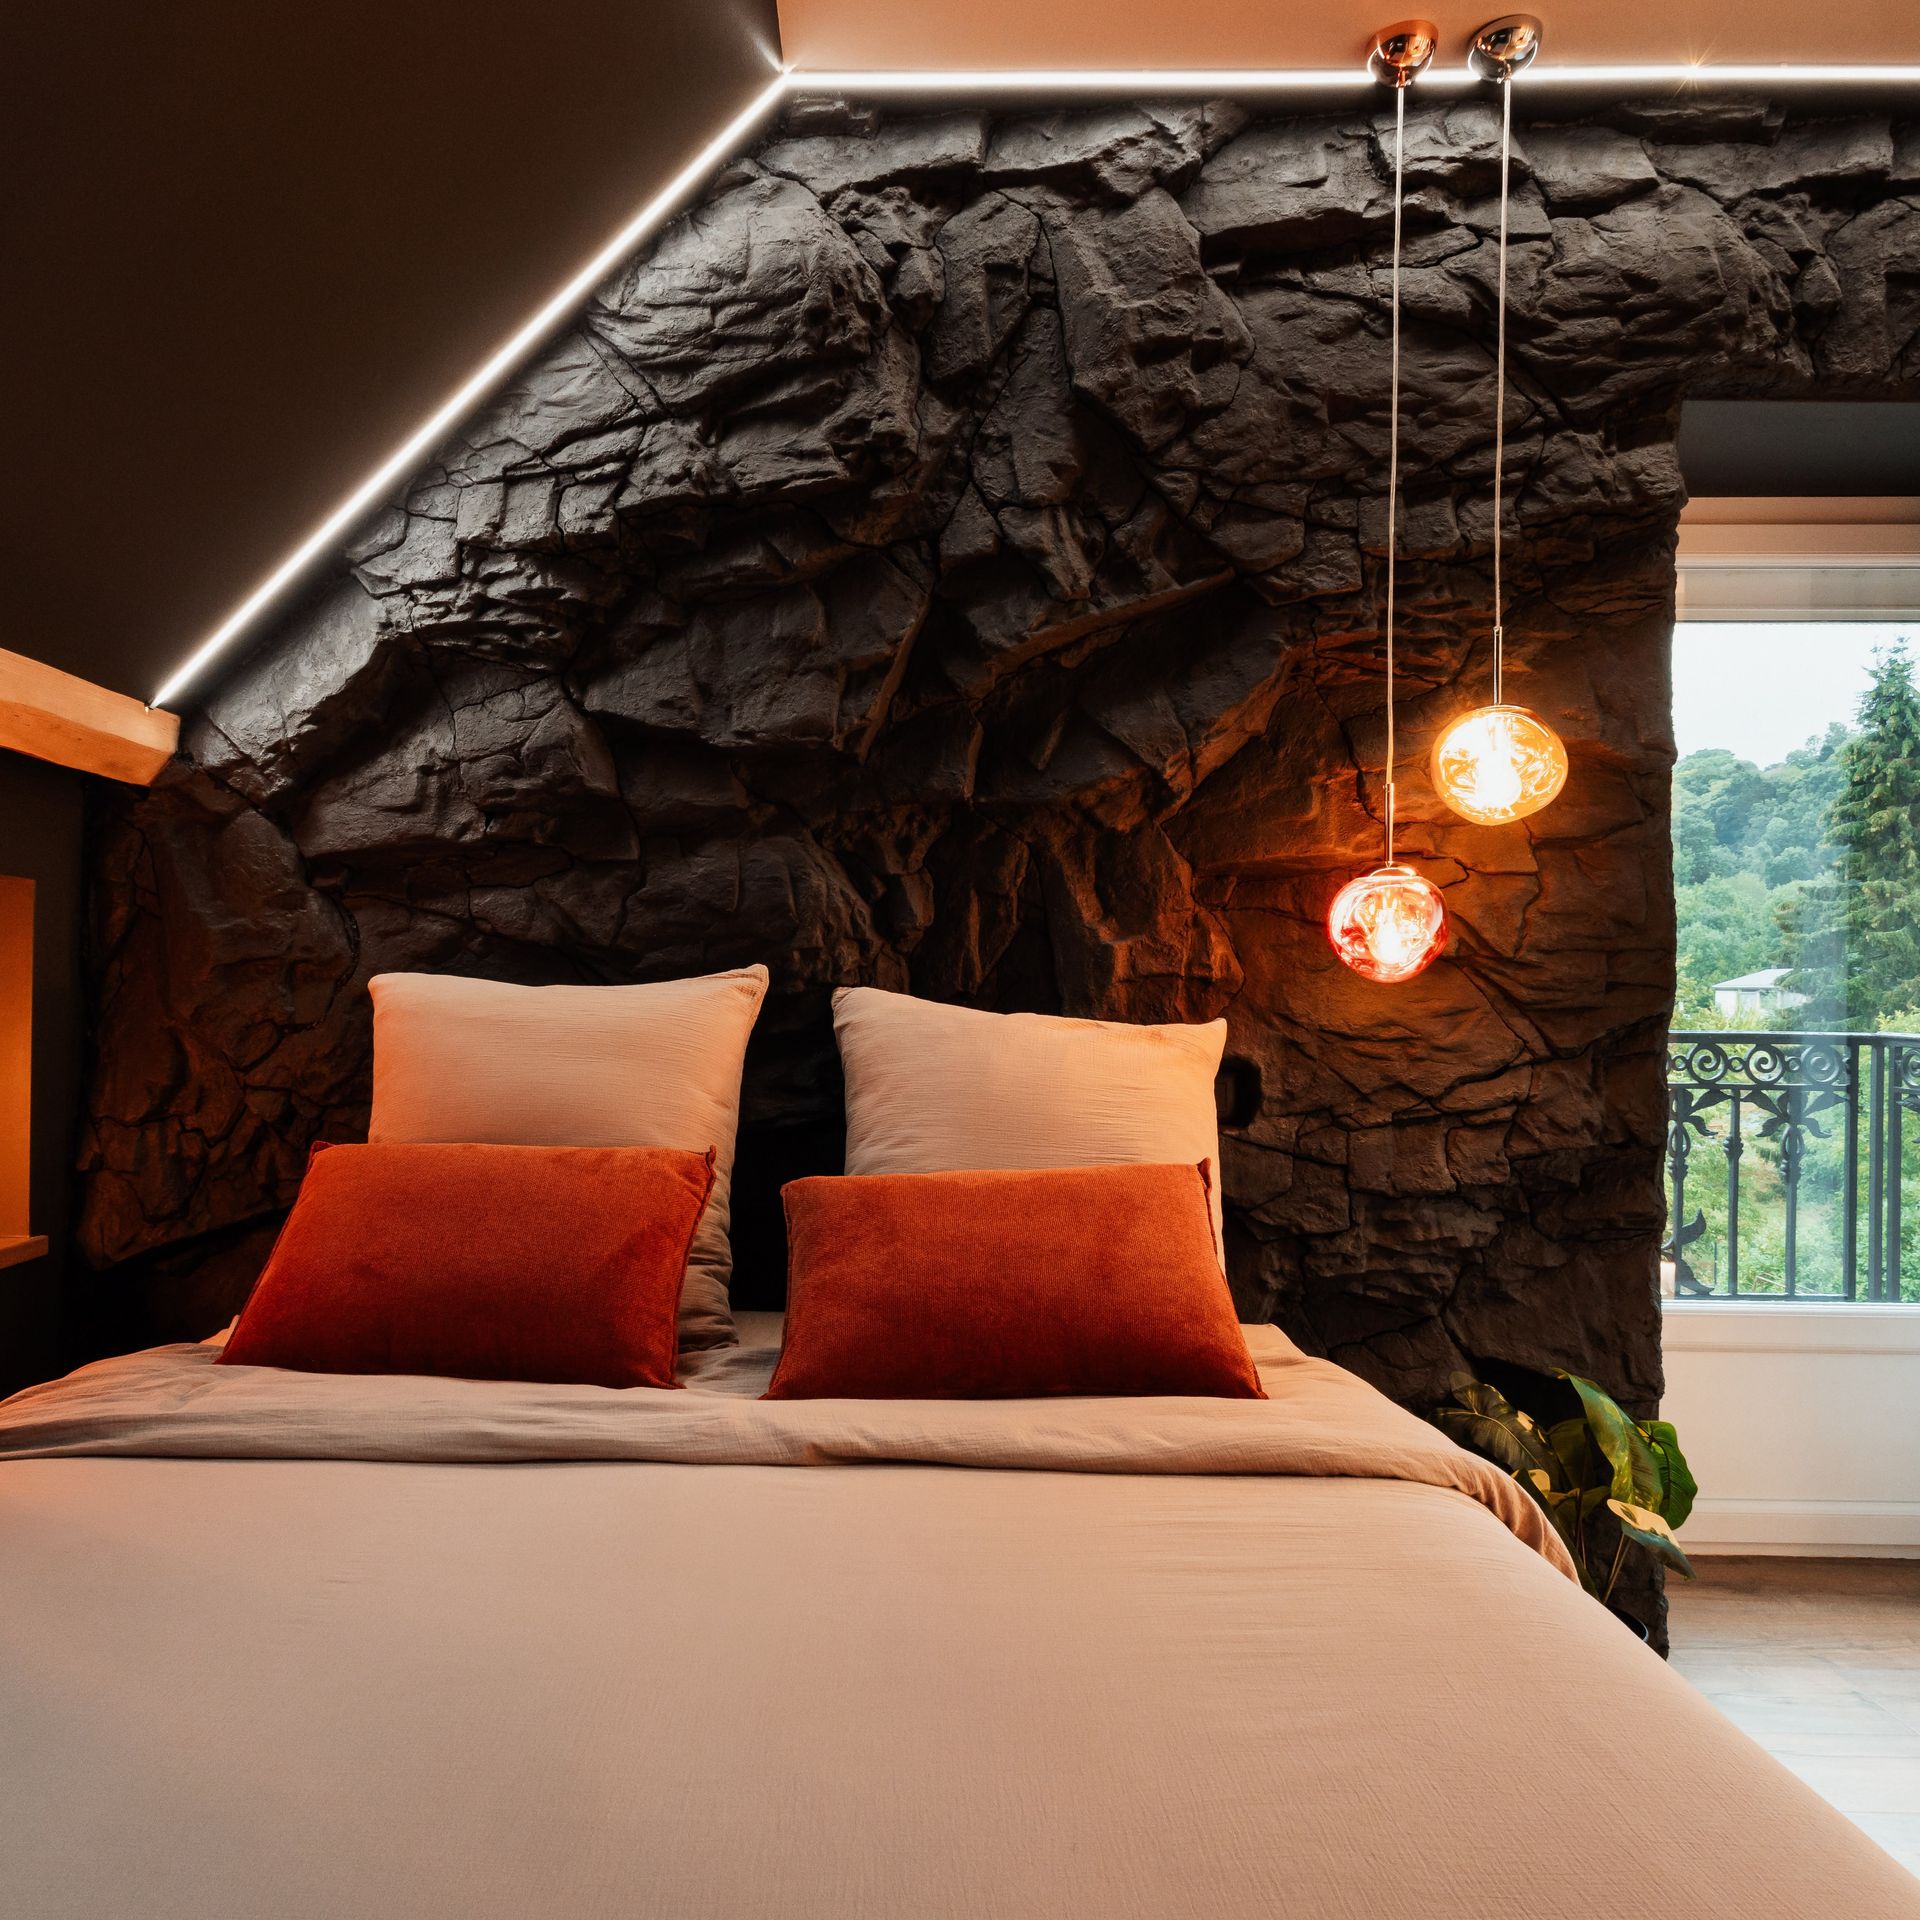
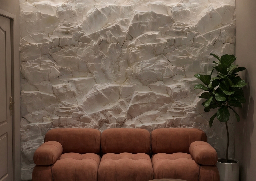
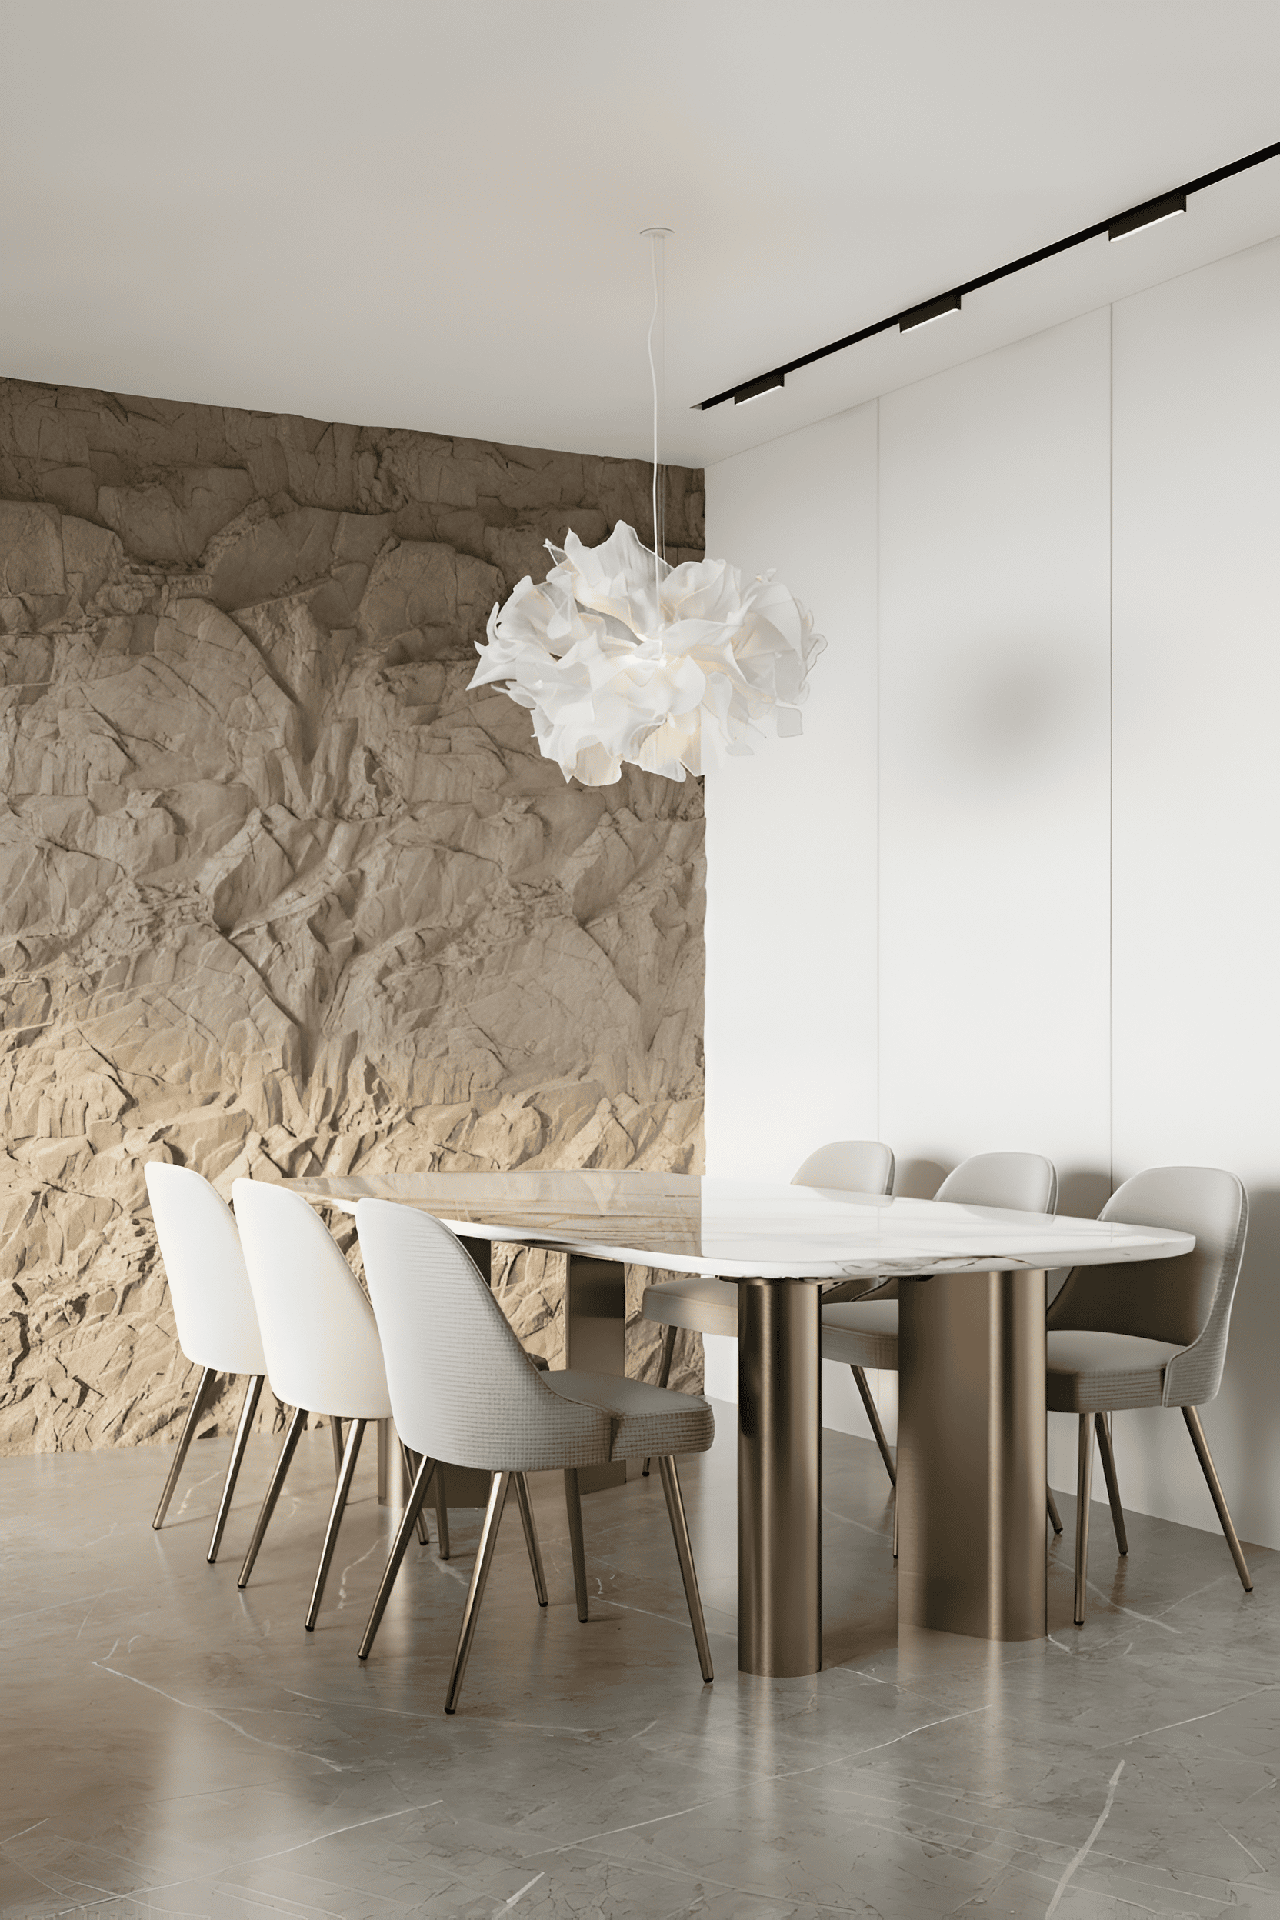
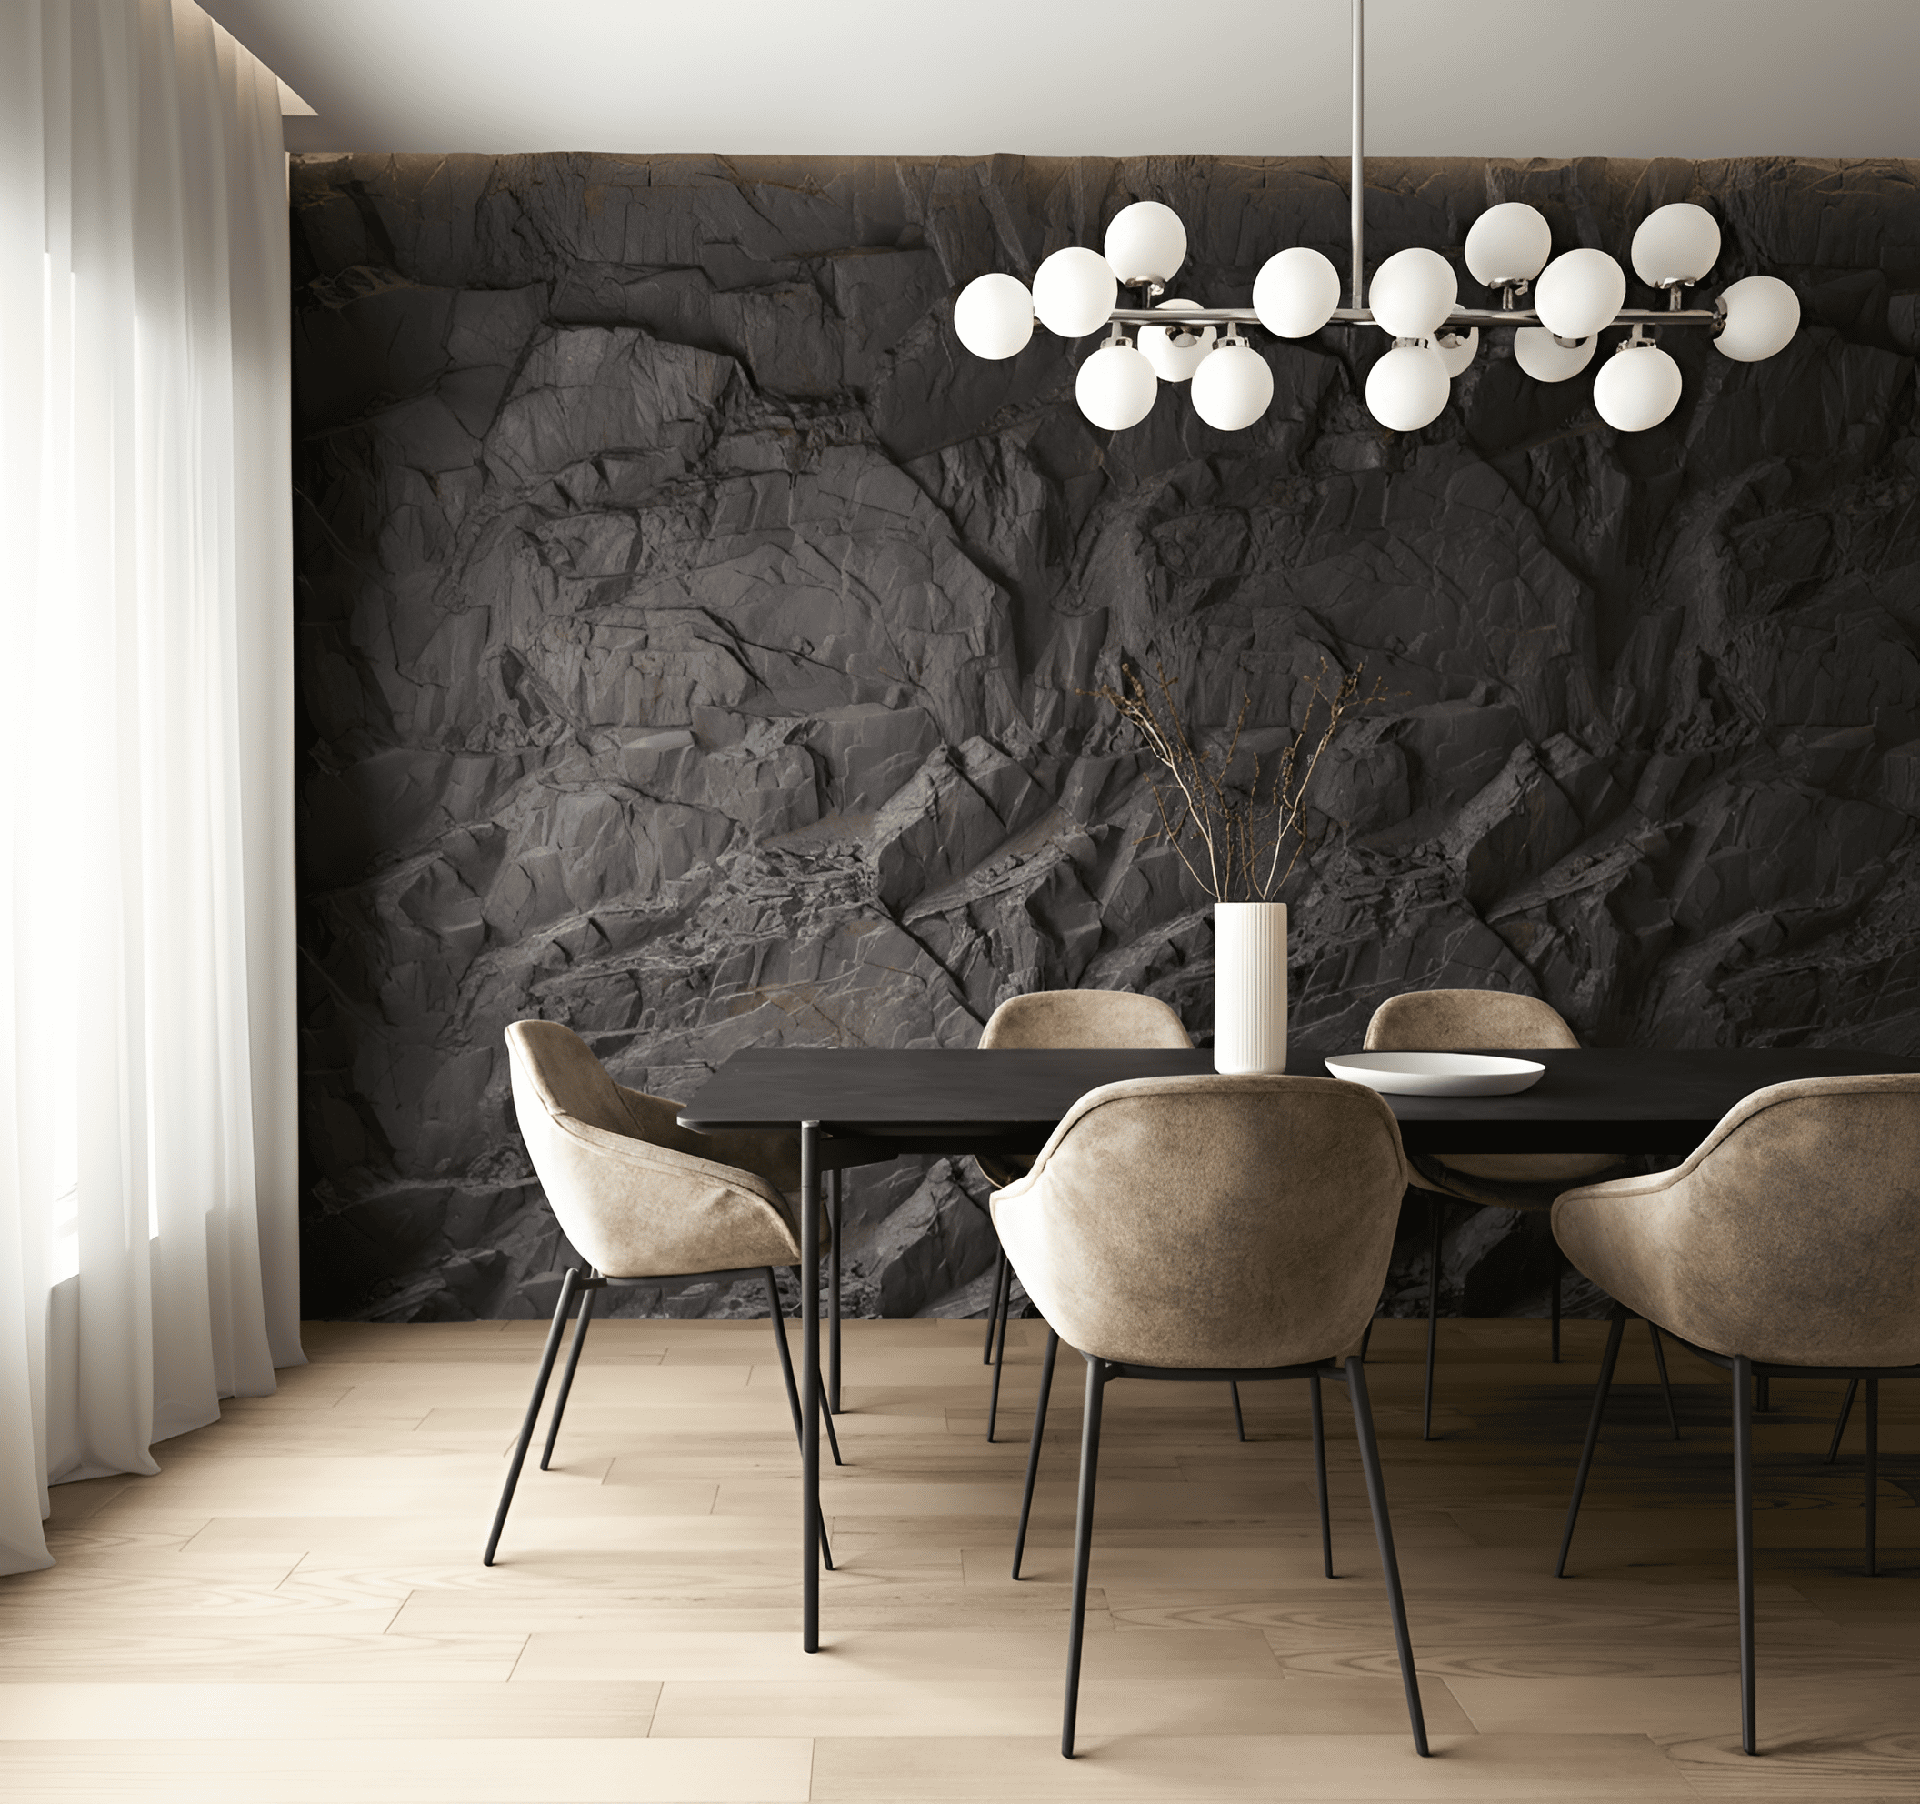
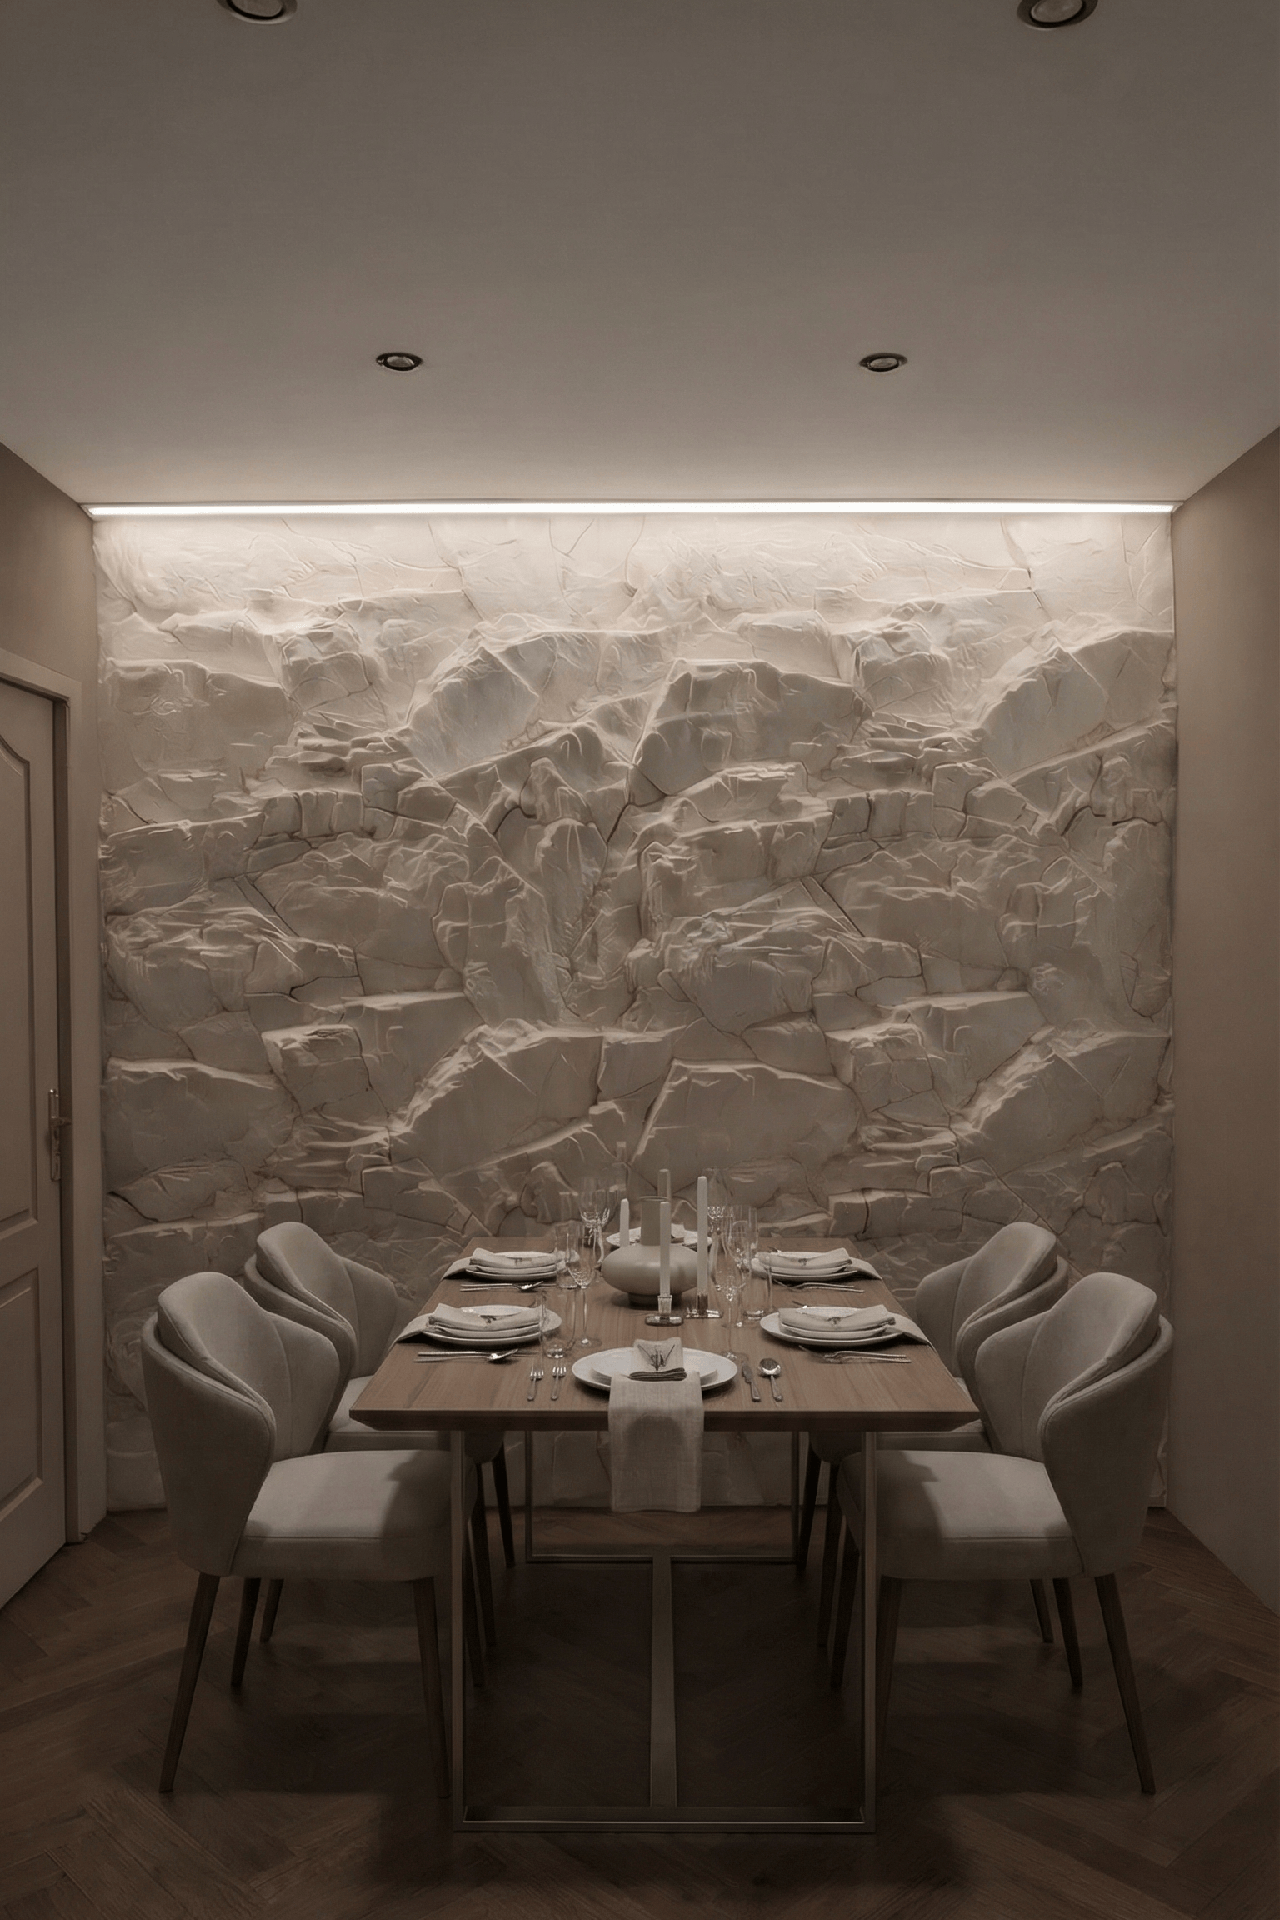
A dining room wall is the only one in the house you look at sitting still for two hours. That is what makes it the best surface for a material with depth. The Óros decorative panel reproduces a rock face in mineral resin over a rigid core: 1.38 m² covered per panel, 13 kg, up to 85 mm of depth, glued onto the existing wall. The configurator works out how many panels you need from the dimensions of your wall.


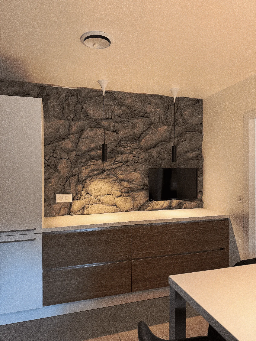
Sideboard placed in front of a rock effect stone cladding wall

WHERE TO PUT A STONE WALL IN A DINING ROOM


Three layouts come up again and again. The wall behind the table, which becomes the backdrop to the meal and the only thing the guests seated opposite have to look at. The wall of a sideboard or a serving table, where the texture contrasts with the smooth surfaces of the furniture: run the panel full height rather than stopping behind the unit, because the cut line would show the day you move it. And in an open-plan living space, a single stretch of mineral wall is enough to separate the dining area from the sitting area, with no partition and no change of level.


WHY A STONE-EFFECT PANEL IN A DINING ROOM

A dining room is often the noisiest room in the house: table, chairs, hard floor, little in the way of soft furnishings. Sound bounces around and the noise level climbs fast as soon as there are six of you around the table. The rigid foam core and the surface texture absorb some of those reflections, where a flat painted wall sends them all straight back. Without amounting to acoustic treatment, a mineral wall noticeably softens a reverberant room.

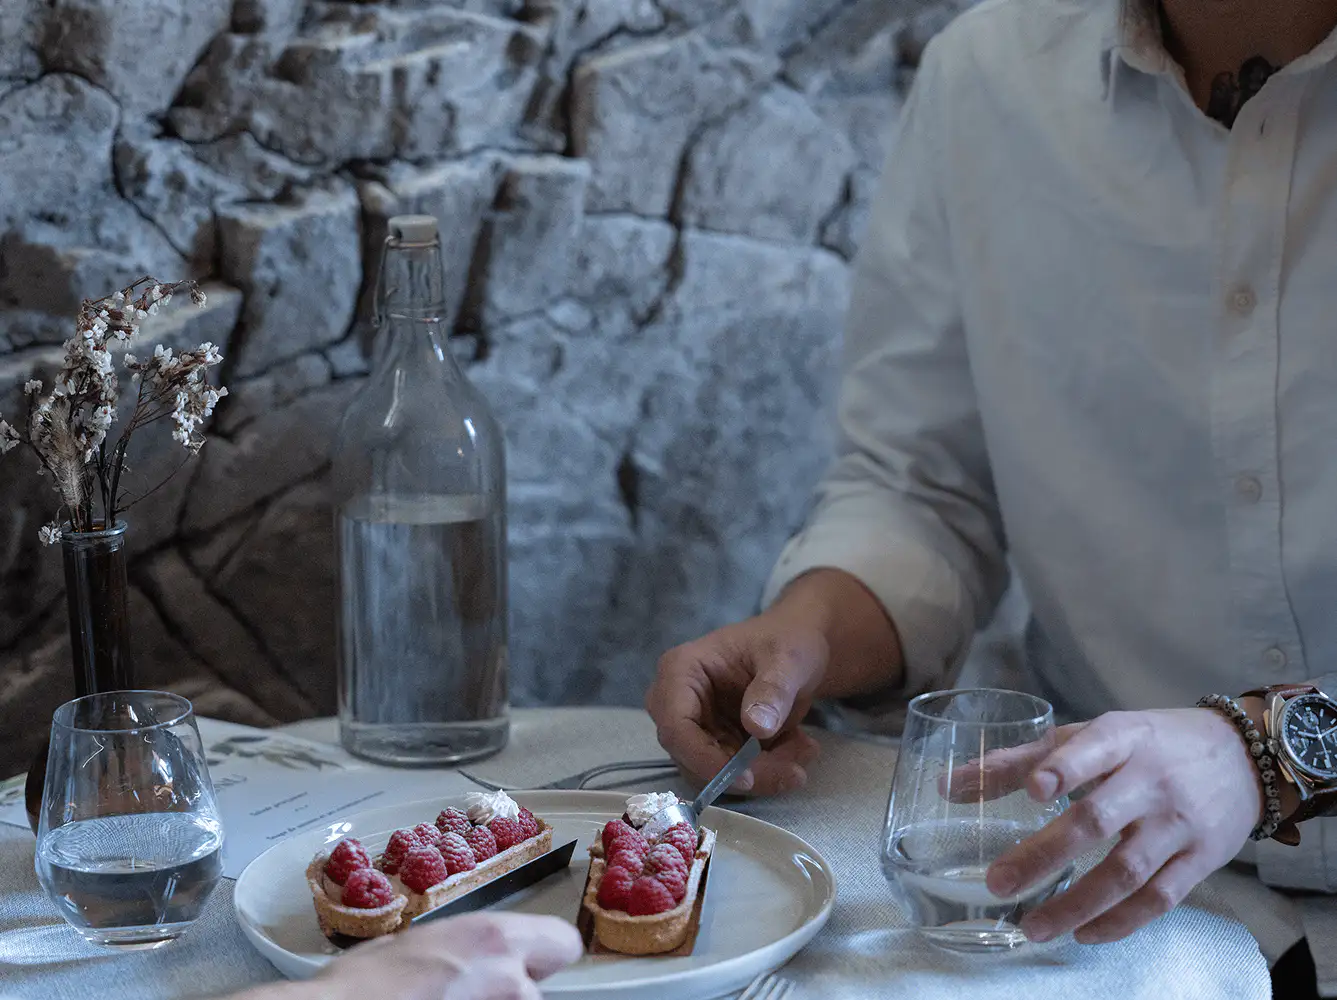
The second question specific to this room: splashes. A dining room gets stained. That is what it is for. The panel cleans up with a soft sponge and soapy water, with no abrasive products and no solvents. The texture simply means using a sponge rather than a dry cloth, which catches in the surface, and a vacuum with a brush attachment for routine dusting.

Dining room with a stone wall built from Óros panels

INSTALLING YOUR ÓROS PANEL: WHAT TO KNOW

Installation is within reach of a DIYer with a jigsaw and a caulking gun. The panel is glued straight onto the existing wall, with no stripping out and no building work, on plasterboard, wood, tile, concrete and painted surfaces. The substrate simply needs to be dust-free, dry and sound. KÓLLA adhesive has enough initial grab to hold the panel as soon as you press it on by hand: no props, nothing to hold in place while it cures.

The full sequence, from setting out to finishing, is detailed in our installation guide, with videos for each stage and the installation manual available to download. For upkeep, a vacuum with a brush attachment or a slightly damp sponge is enough; avoid dry cloths and scouring pads, which catch in the texture.

Parallax rock
This will generate the product slider