INSTALLING A STONE-EFFECT WALL PANEL: THE 4 STEPS
An Óros panel goes up in four steps: set out the wall, cut, bond, finish. No masonry, no mortar. The panels interlock like puzzle pieces and the adhesive holds from the moment they are placed, with no props and nothing to hold while it cures.
This page gives you everything you need to size up your project before ordering: the full sequence, the materials and the special cases. The detailed installation manual can be downloaded here

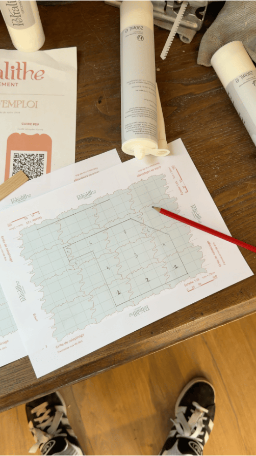
Setting out is the installation plan: you transfer your wall onto a printed grid at 1:25 scale, A4 or A3, and position the panels landscape or portrait. Every cut and every reusable offcut is then known before you touch the saw.
It is also the moment to decide how your wall edges finish: the edge reworked with the touch-up kit, panels recessed into a niche, or the end framed by a batten.
Print the grid at 100%, with no scaling. And remember that you are working in reverse: the bottom left of the grid is the bottom right of the wall.
→ The configurator works out how many panels you need for your surface area
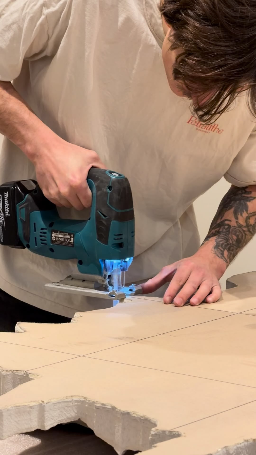
A jigsaw fitted with a carbide blade offering at least 85 mm of cutting depth. Our KOPTÔ blade is made for it. A wood blade will cut too, but it blunts very quickly on mineral resin: keep it for emergencies, not for a whole job.
For 45° mitre cuts you will also need a blade with 130 mm of capacity, such as the T1044DP.
Always cut from the back, the paper side. The blade exits on the visible face and can leave chips there: the touch-up kit is there for exactly that, a few seconds per cut.
Each panel carries three horizontal and three vertical reference axes, engraved on the edges. You transfer the ones you need onto the back and mark out from there.
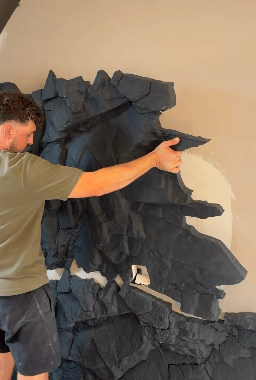
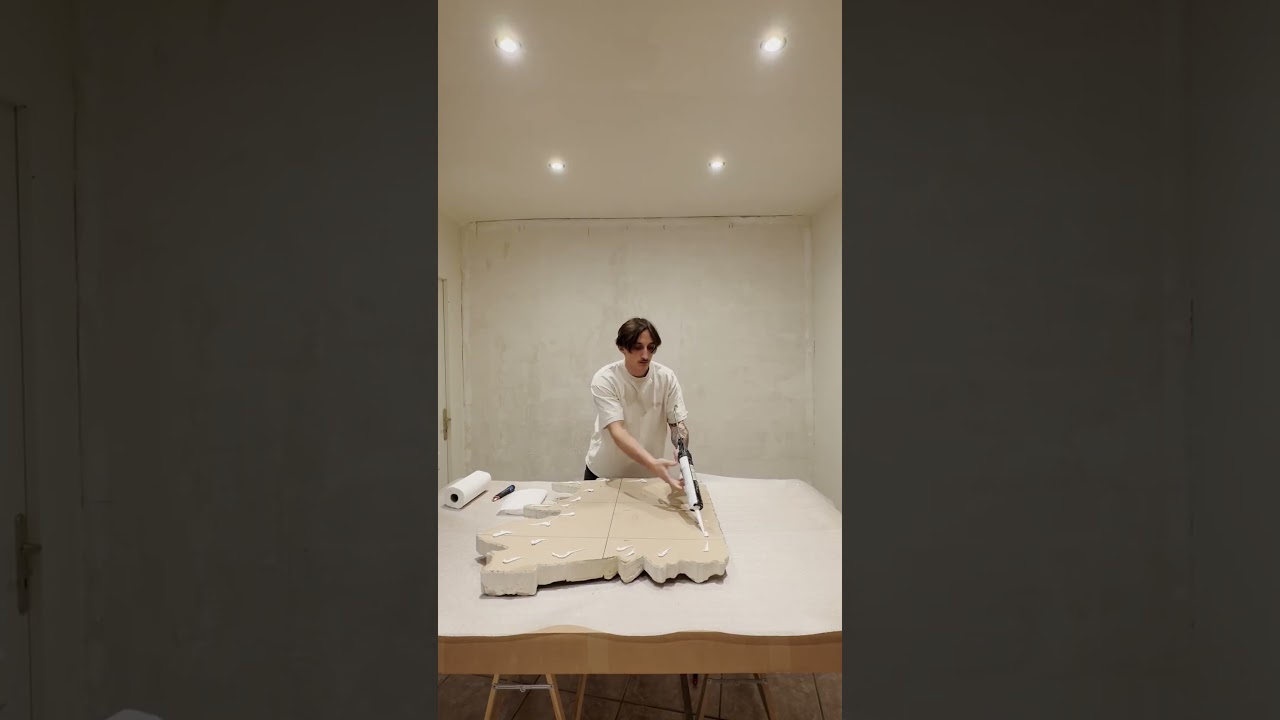
Beads or dabs of KÓLLA adhesive spaced roughly 10 cm apart on the back of the panel. Allow one cartridge per one to two panels. Always dry-fit the panel before bonding, to check the fit.
The initial grab is enough to hold the panel in place. You press it against the wall, tap it home by hand, and it stays: no props, no clamps, nothing to hold while it cures. That is what makes single-handed installation possible.
Panels interlock by laying one over the other like puzzle pieces, never by sliding one against the other. Some edges have locating keys that seat themselves.
Finish a full course, left to right, before moving up to the next one.
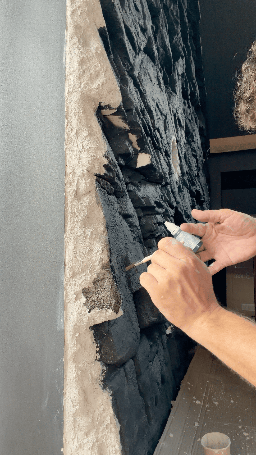
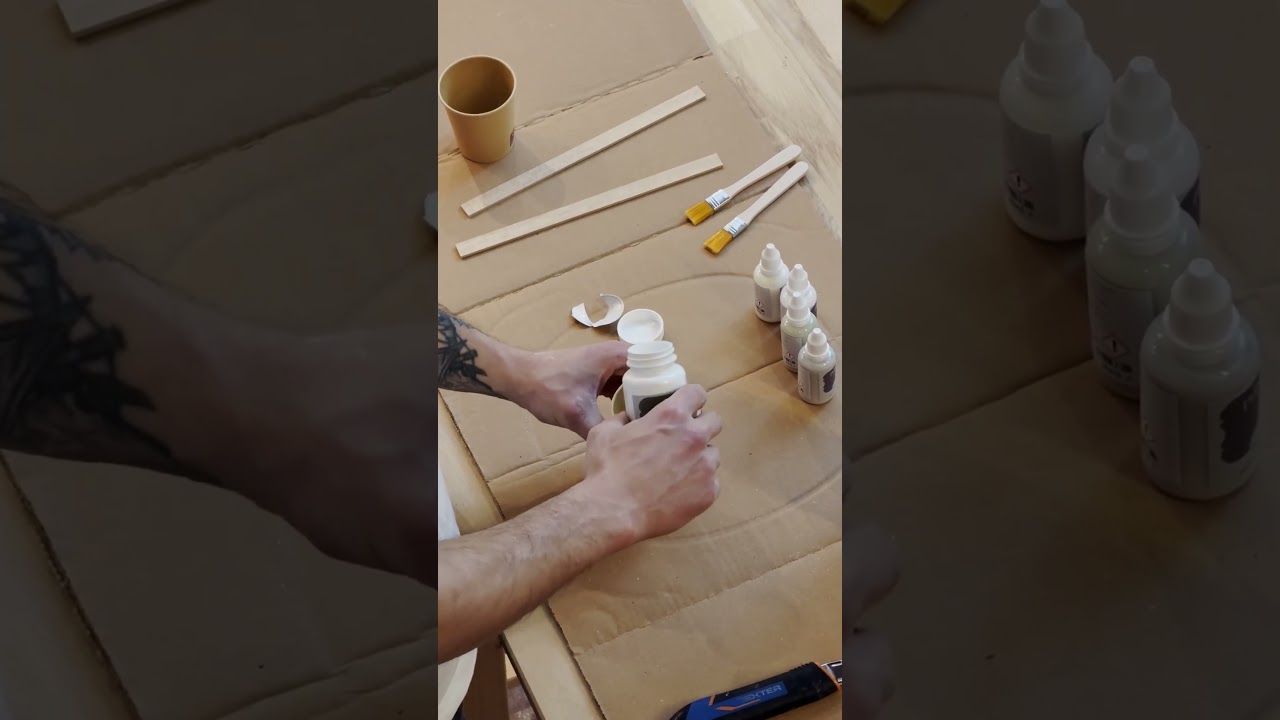
The touch-up kit does two things: it makes good the chips left by cutting, and it rebuilds the texture on an edge left exposed or on a 45° corner. One kit covers 3 to 5 linear metres.
Around the perimeter, against the floor, the ceiling or a window reveal, run a bead of acrylic sealant, then paint it to match the panel.
Optionally, a piped joint between panels improves the wall's resistance to water, which can be worth doing in a wet room or outdoors. It adds nothing to the look: the join is barely visible without it.
Pose et installation
COUPE

FIXATION
FINITIONS
Pose et installation
COUPE
FIXATION
FINITIONS